 Esta página no está completamente traducida, aún. Por favor, contribuye a su traducción.
(Elimina este párrafo una vez la traducción esté completa)
Hardware requirements for different operating systems
Create and erase a virtual machine
Choose the “Instances” category in the left column:
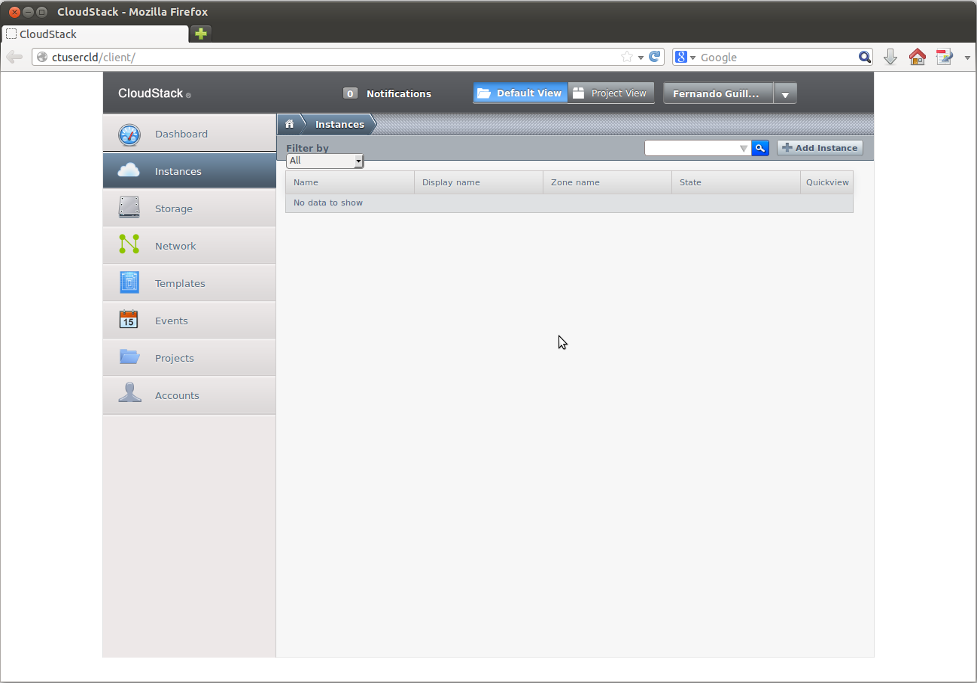
In the “Instances” screen appears the list of our VM. In the upper right is the “Add Instance” button that starts the process of creating a new VM. We can access the options of any instance already present by any of the following two options:
- Selecting the instance a screen with information opens which contains the following options (for a stopped instance)

- Leaving the mouse pointer over the “+” symbol in the “Quickview” column the following options appear (for a running instance):
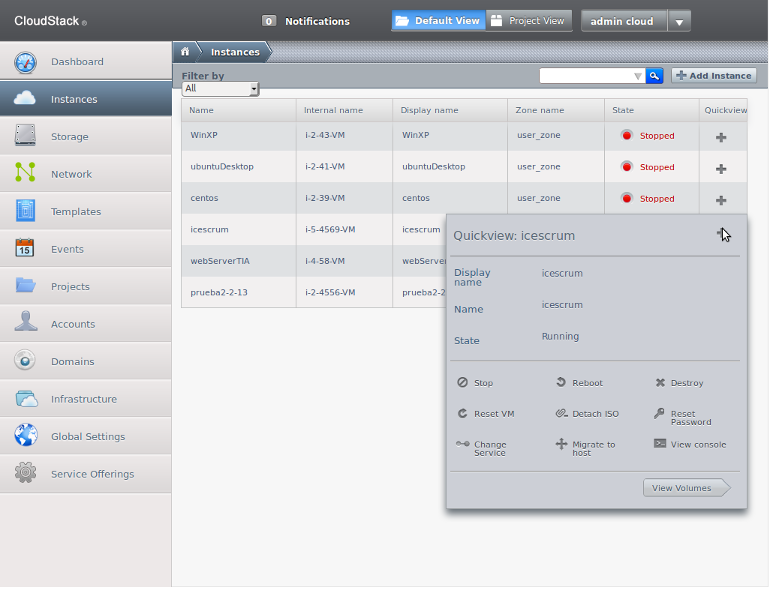
To erase a instance choose “Destroy” and confirm. Destroying an instance is irreversible and has the following consequences:
- Instance is removed from the list.
- After 3 minutes instance's “root disk” is erased.
- Any “data disk” the instance had is not erased automatically, so it is the user who should erase them manually in case they are no longer being used.
Create an instance
- Step 1:
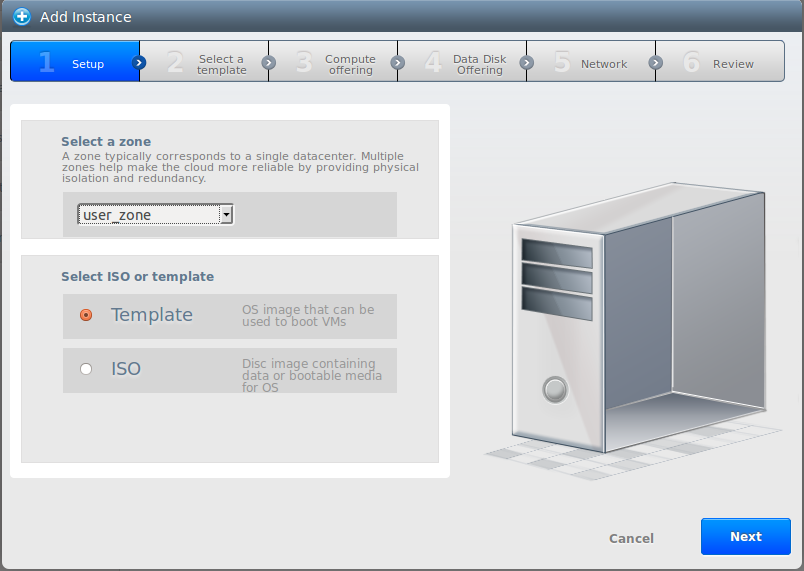
Zone: there is only one, so let it be.
ISO or Template: you can create an empty instance and install the operating system from one of the available ISO images or use a template. A template is an already installed an configured model from which instances can be created (template list).
* Step 2a: Using a Template:

There are three Template categories:
- Featured: Offered by the administrator to everybody.
- Community: Created by other users and made public.
- My templates: Created by the user and private.
- Paso 2b: Using a ISO image:

There are three ISO categories:
- Featured: Offered by the administrator to everybody.
- Community: Created by other users and made public.
- My ISOs: Created by the user and private.
When using an ISO image there is an option to choose the type of hipervisor but in the CiTIUS Cloudstack implementation there is only one (KVM) so it can not be changed.
- Step 3:

A hardware configuration must be chosen among the offered. Number left to the @ is the number of virtual processors and right to it are the megahertz of each one. Last number is the amount of RAM in Megabytes. “HA” means High Availability: if the instance shuts down for whatever reason Cloudstack will power it on again automatically.
As a reference see the hardware requirements table.
* Step 4:
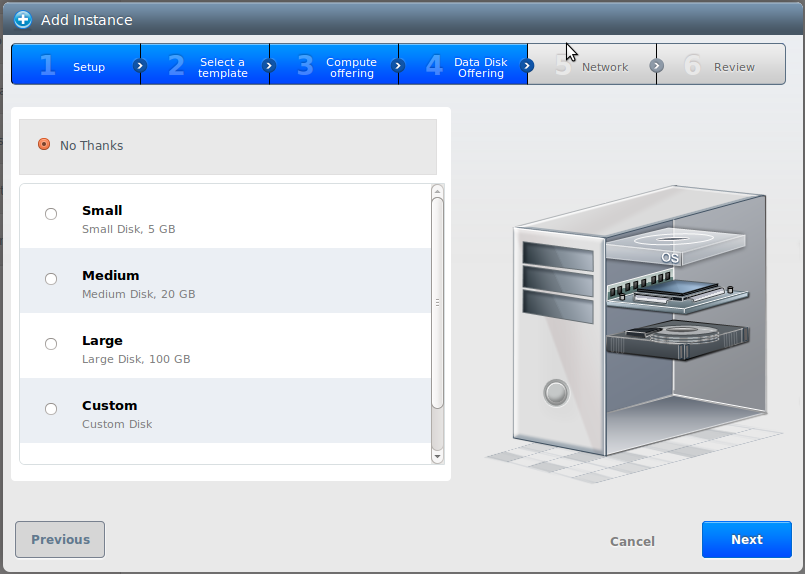
Virtual machines have two types of disks:
- root disk: first disk created. Has the system and it is “tied” to the VM.
- data disk: any other disk added. They are more independent as they don't get erased automatically when the VM is destroyed, can be disconnected from a VM and connected to other, etc.
If creating a VM from a template the “root disk” is already predefined and in this step we choose if we want to add any additional “data disk”. It is always possible to add “data disks” easily after VM creation, so it is safe not to add one now.
If creating the VM using an ISO image here the size of the “root disk” is defined.
* Step 5:
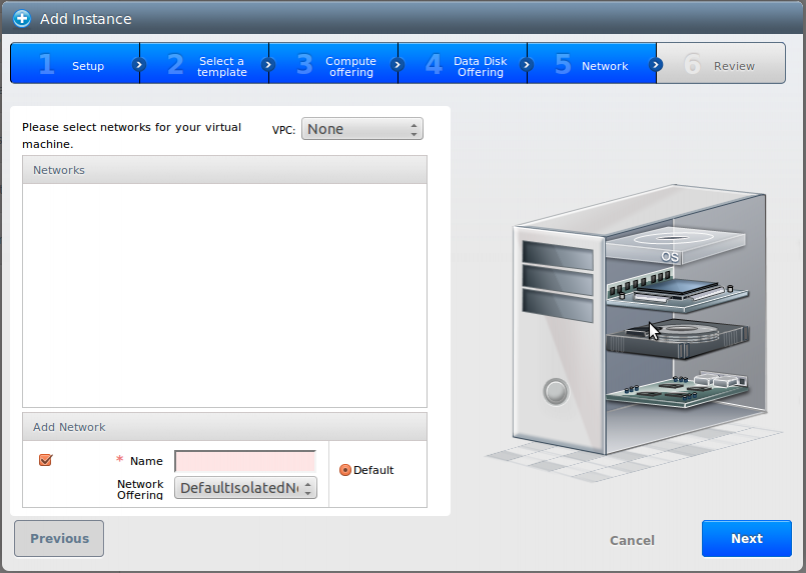
It is needed that the VM belongs to a network, so you must choose or create a new one.
- VPC (Virtual Private Cloud-network): Not used, choose “none”.
- Networks: List of the user's networks. If there isn't any or if a new one is desired, press the “Add Network” button below.
- Name: Network name. Only used as a label for the user to distinguish between his networks.
- Network offering: there's only one: “DefaultIsolatedNetworkOfferingWithSourceNatService” isolated network with a virtual router providing the firewall, source nat and default gateway functions.
- Default: this sets up this network as the default network for newly created VMs.
* Step 6:
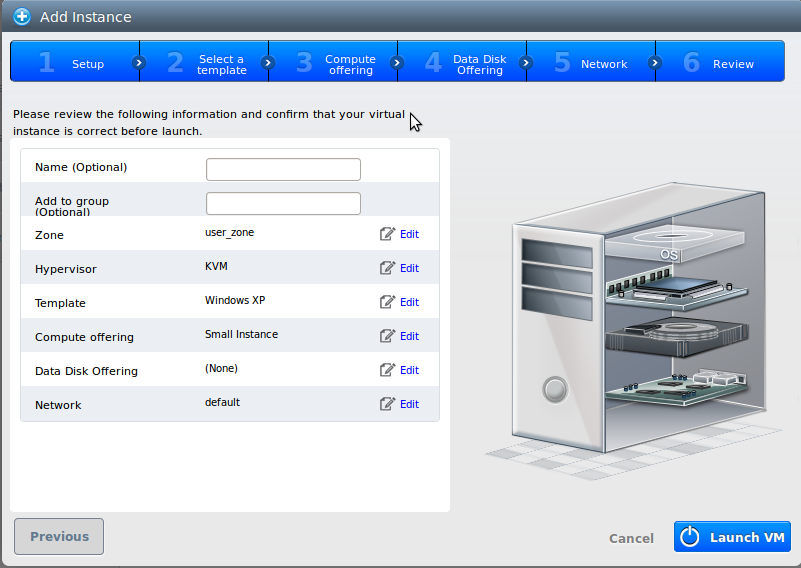
Lastly and optionally a name and/or a group can be given to the VM. Cloudestack doesn't use this names at all, they are only useful to help the user classify its VM.
When the “Launch VM” button is pressed Cloudstack creates and starts the VM. This process can take from seconds to minutes.
If the VM was created from a Template with the functionality (not all templates have it) a message displaying a randomly created root password for this VM will appear.
- If it doesn't appear check the Notes section in the available templates list to see the default user and password.
- If it does appear, note down the password immediately as it never reappears although it is possible to reset it choosing the “Reset Password” option.
Now it is possible to access the VM or configure the network .