This is an old revision of the document!
 This page is not fully translated, yet. Please help completing the translation.
(remove this paragraph once the translation is finished)
VPN manual for Mac OS X 10.8, 10.9 and 10.10
Installation
- Install the Tunnelblick program. For Mac OS X 10.9 and 10.10 it is necessary to install Tunnelblick 3.4 or higher or it won't work correctly.
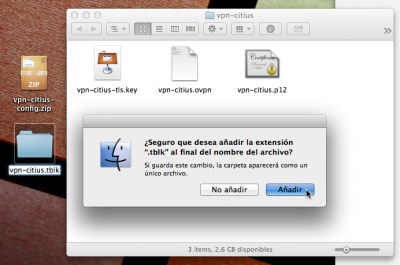
- Unzip the
zipfile found in your user's home in the VPN folder in other directory and add the extension.tblkto it. - Open that directory which now will be recognized by Tunnelblick as a VPN configuration.
- When asked if “Make configuration available to all users” choose «Only me». Introduce your user and password in the system.
- In the applications menu open Tunnelbrick.
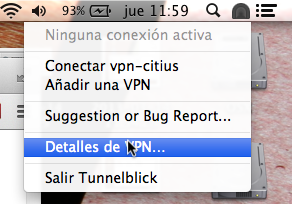
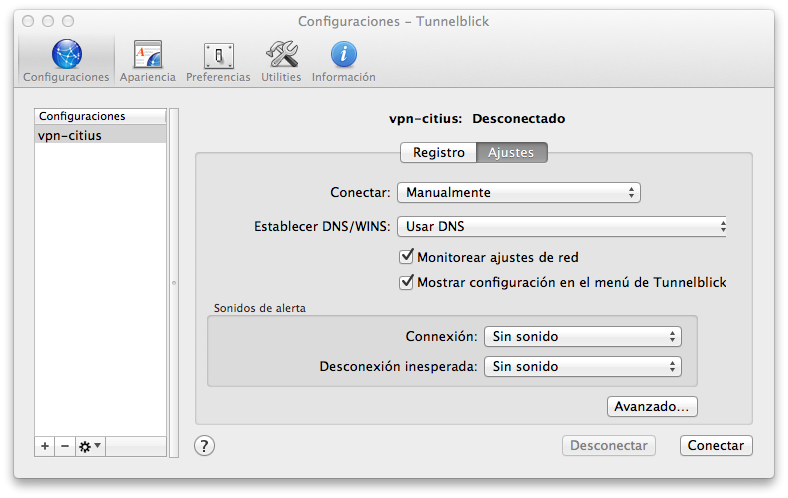
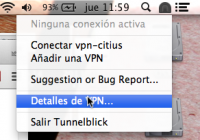
- In the indicator panel, push the Tunnelbrick icon and choose VPN details….
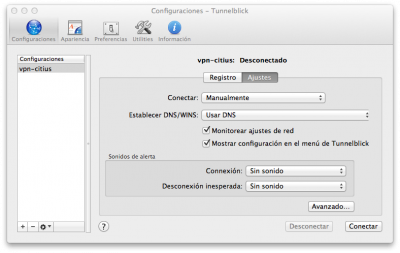
- In the configuration, choose Use DNS and in the dropdown Set DNS/WINS.

Conectarse y desconectarse de la VPN
- En el menú de aplicaciones, abre Tunnelbrick si no está abierto ya.
- En el panel de indicadores, pulsa en el icono de Tunnelbrick y elige la opción Conectar vpn-citius.
- Introduce el usuario y contraseña de tu cuenta del CiTIUS.
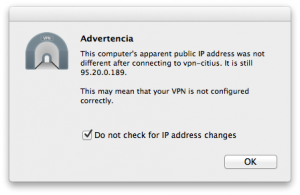
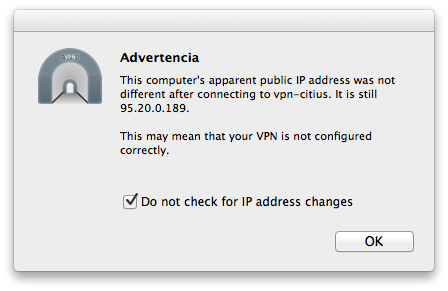
- Si recibes una advertencia sobre la dirección IP pública, puedes ignorala.